Cambo USA -
Cambo USA -
Home
Blog
Register
Dealers
Events
EDU
Downloads
Contact Us
  • Home
  • Blog
  • Register
  • Dealers
  • Events
  • EDU
  • Downloads
  • Contact Us
News, Uncategorized, Workshops

Cambo Factory Tour 2019 – Event Roundup

Pim, and our team of adventurers ready to set out for a day of shooting.

When we set out to create what would become the 2019 Cambo Factory tour late in 2018 we sat and tried to create an event that both was visually interesting as well as something that would be stimulating for a fan of Cambo equipment (or someone who was curious about how a final camera is “born” from raw materials).

Our workshop tour-guides Koop and Rene from Cambo NL.

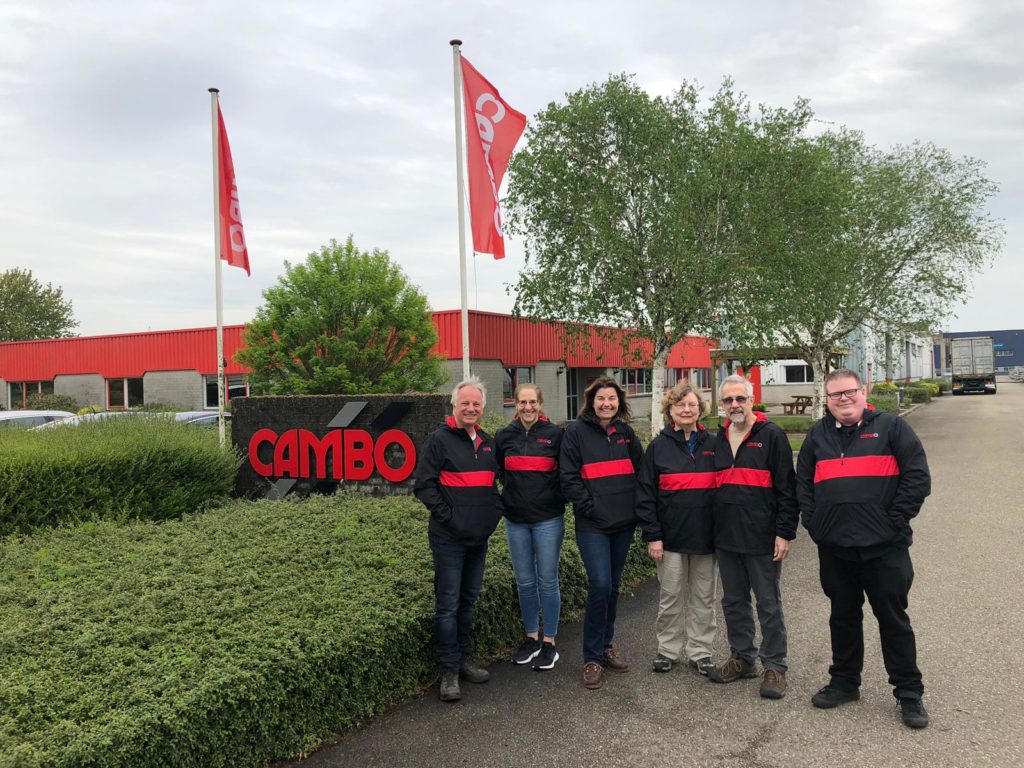
We started the first official day of our workshop at Cambo Headquarters and Factory in the small town of Kampen in The Netherlands.

Our hosts gratefully started with a brief history lesson which served to tell us how Cambo as a company was started, and walked us through some of the design ethos to help us understand where the company would be going.

Renè shows a part in the process of being milled.

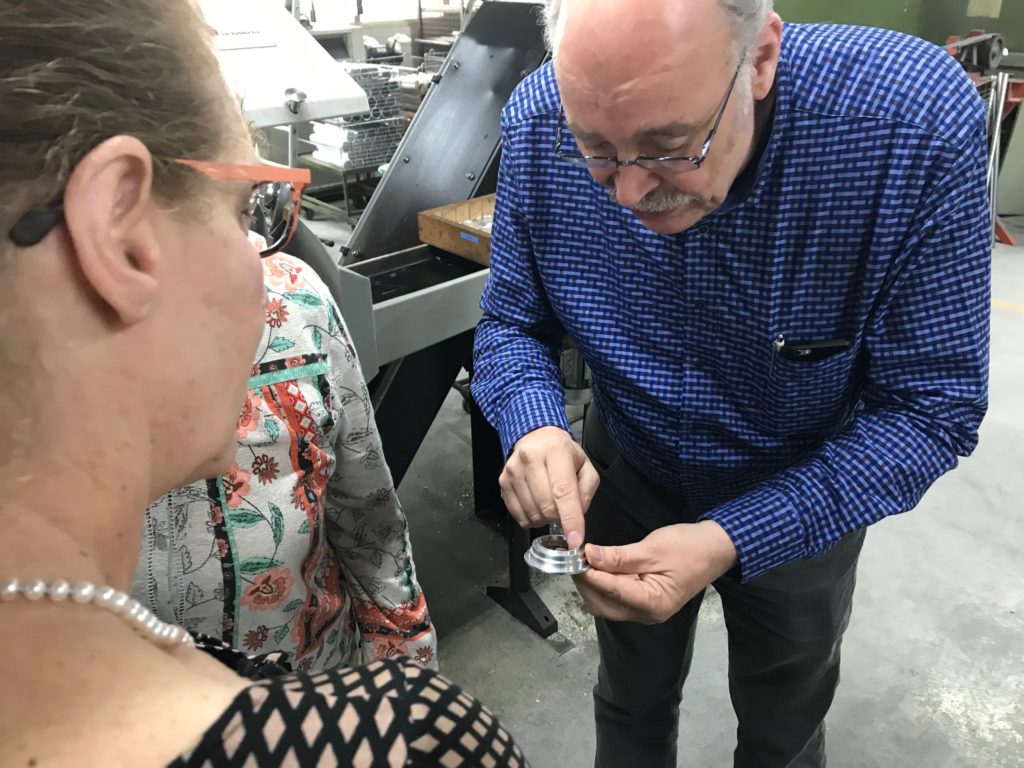
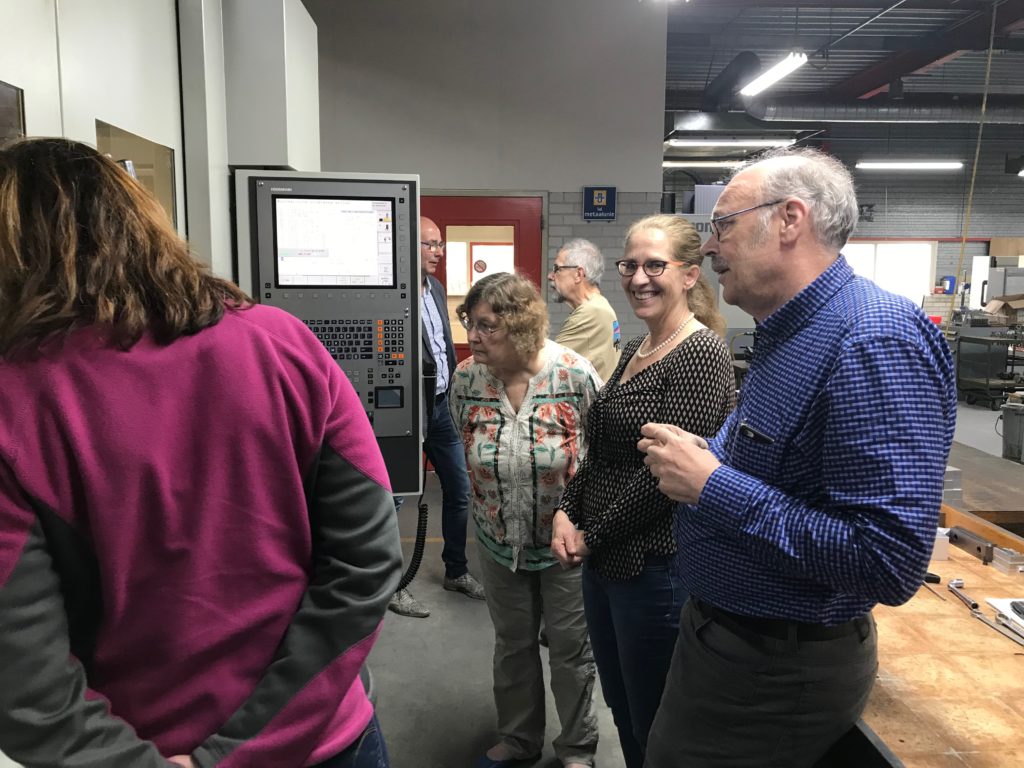
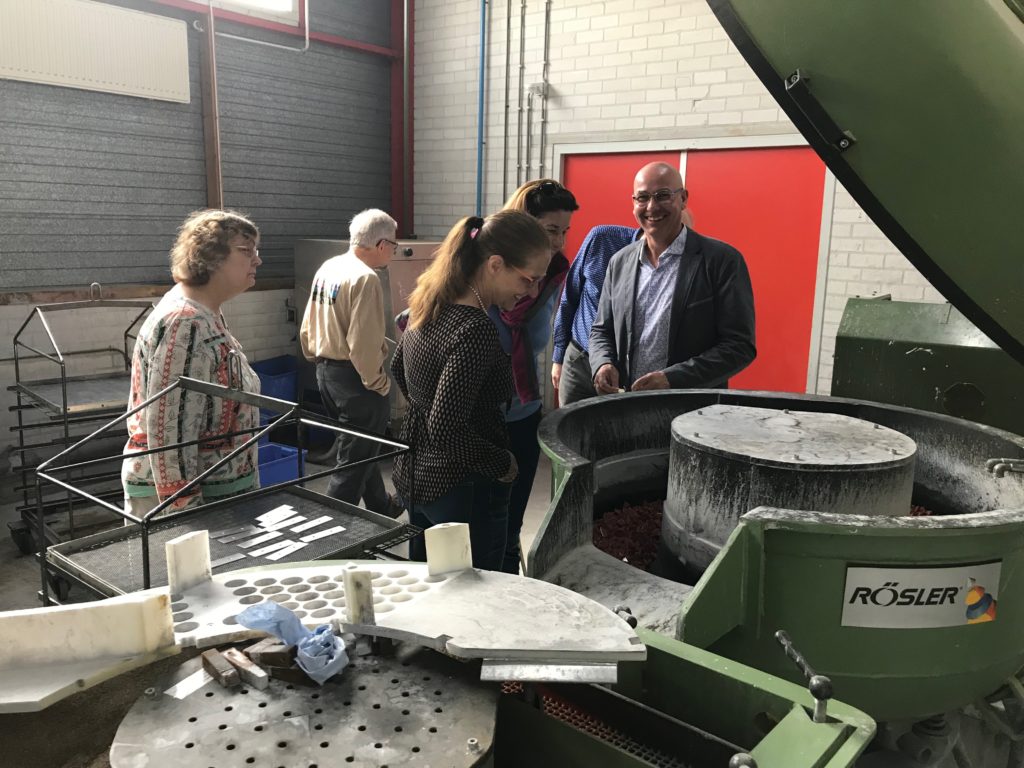
We then were lead through a guided tour of the factory floor. We would see how each product begins as a digital rendering, which then gets fed into a computerized milling machine that transforms raw aluminum blocks into a final product.

We also just happened to be in the factory while some new products were making their way off the line. Our tour group were the first people outside of The Netherlands to see these upcoming camera accessories!

“These are our ‘lucky stones’ that remove the rough edges” – Koop

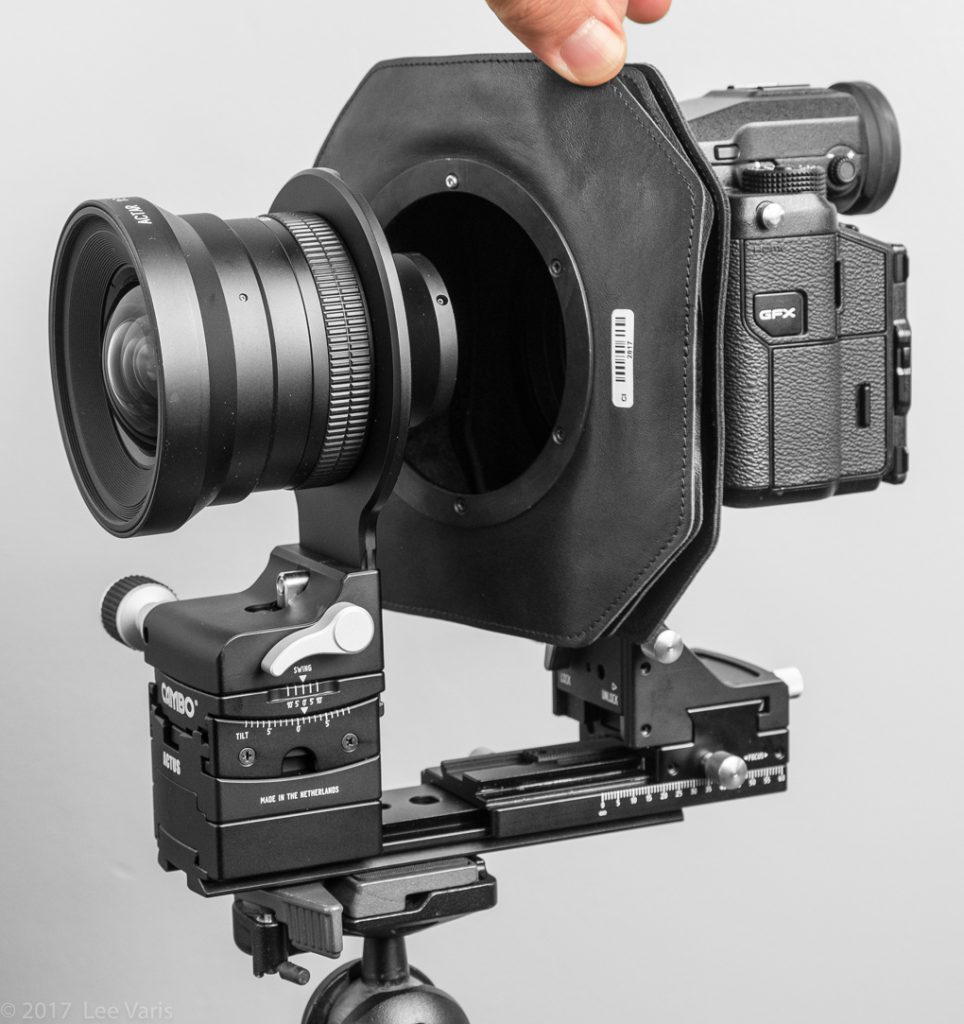
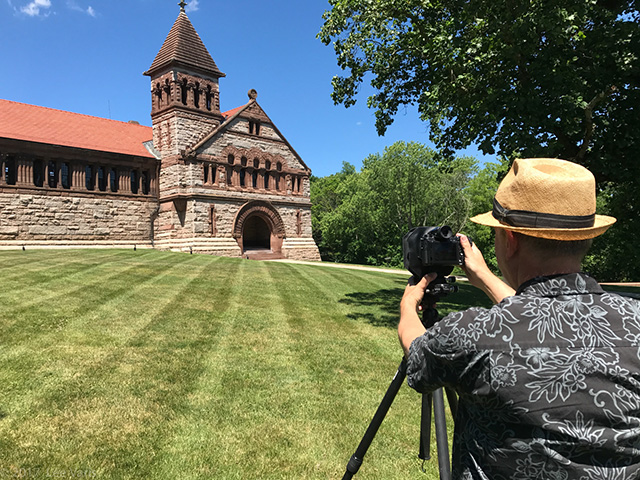
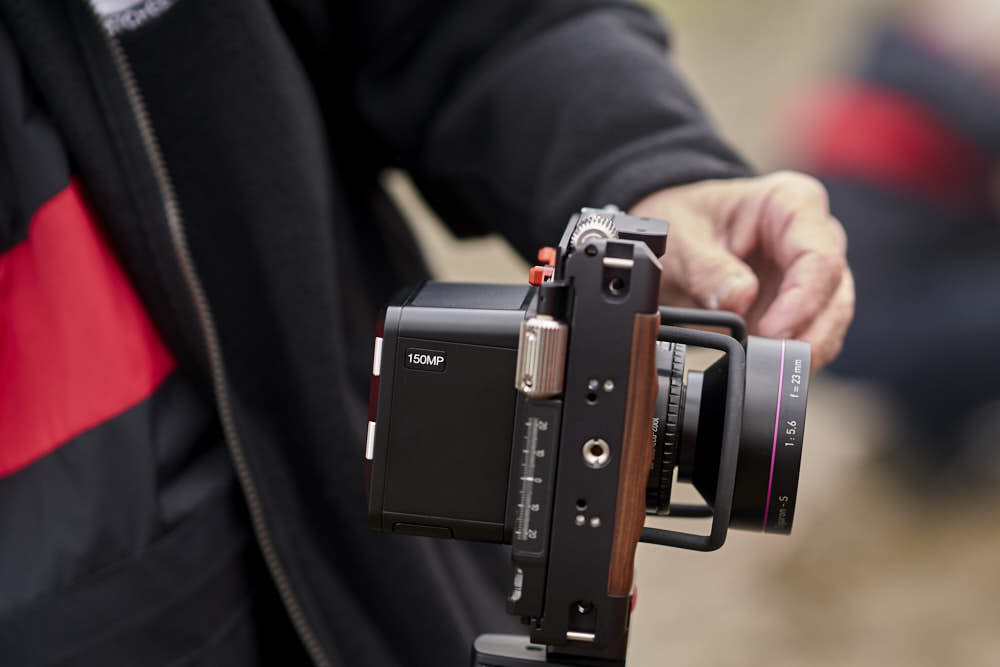
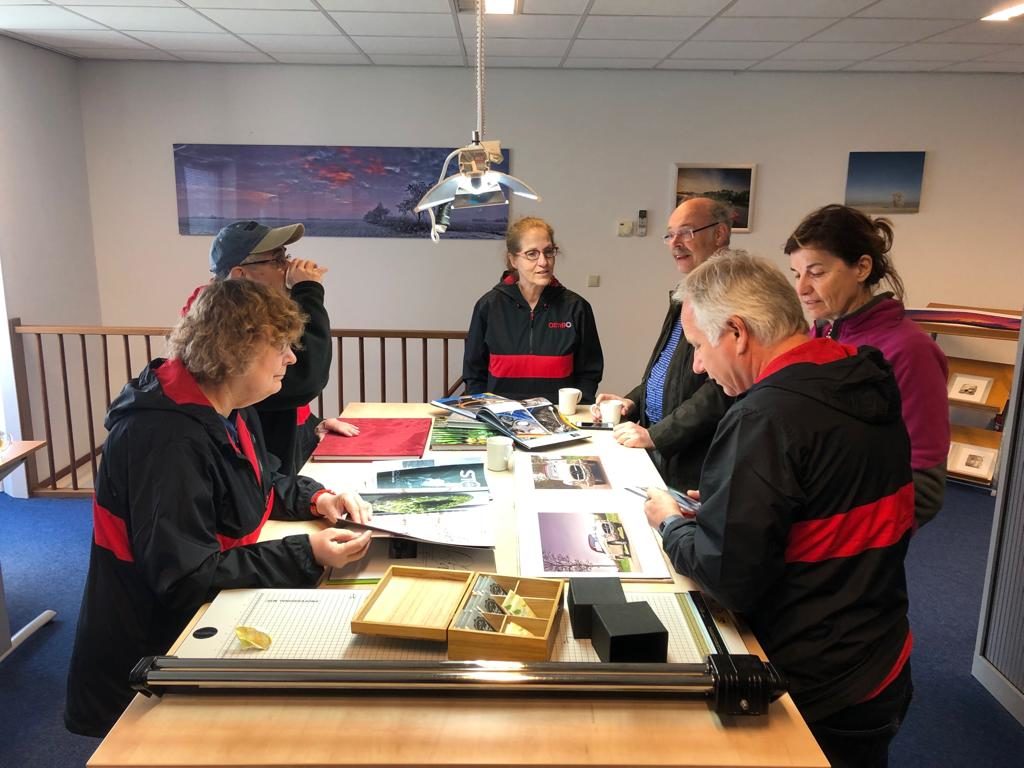
After lunch in the neighboring village we were back in the conference room and it was time for the fun to really begin. Each participant was given the opportunity to check out whatever equipment they could possibly imagine.

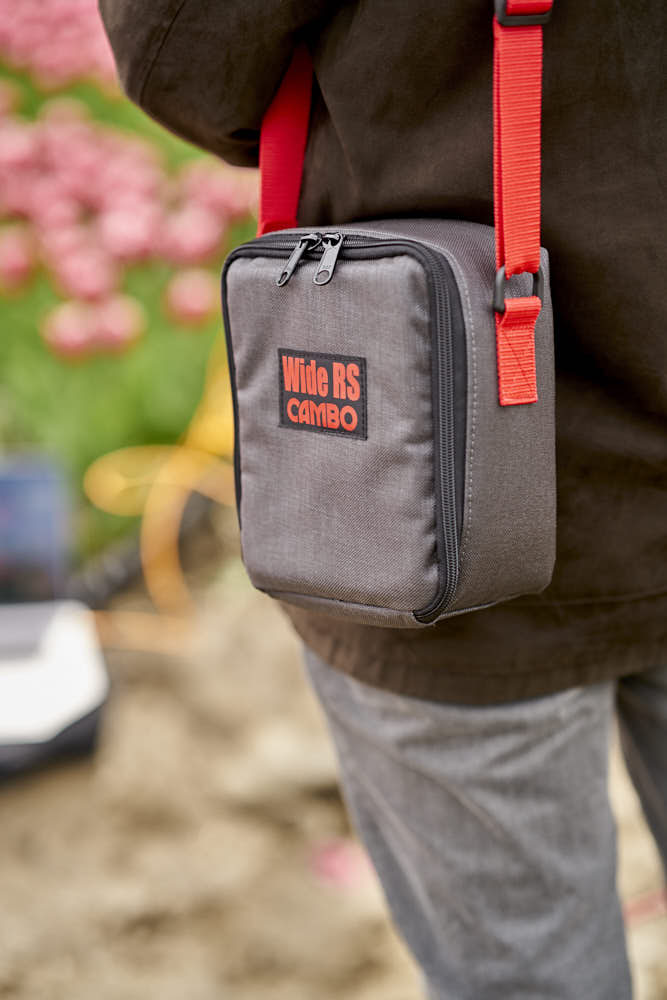
Each participant then received specialized one-on-one training as to how to best get the most out of what would be their tools for the rest of the week. As well as a special gift, a personalized camera bracket, that was laser engraved with each participant’s name and markings to indicate it came from our Tulip adventure that would commence the next day.

Sunrise wasn’t a challenge for Geneviève, our Swiss visitor.

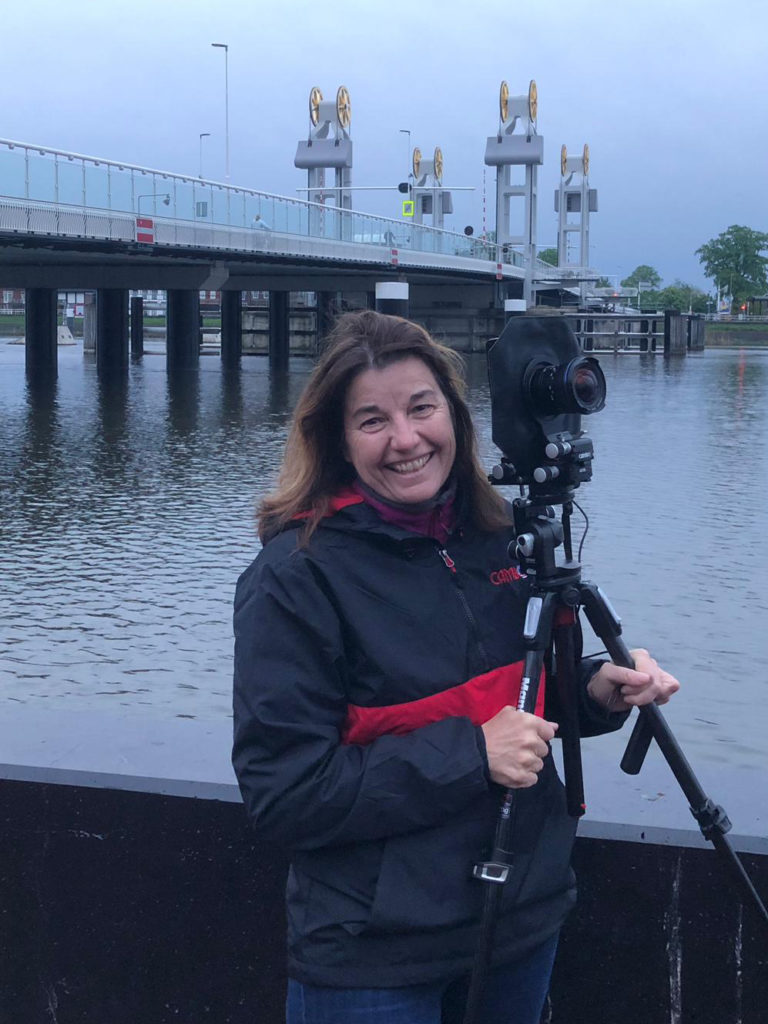
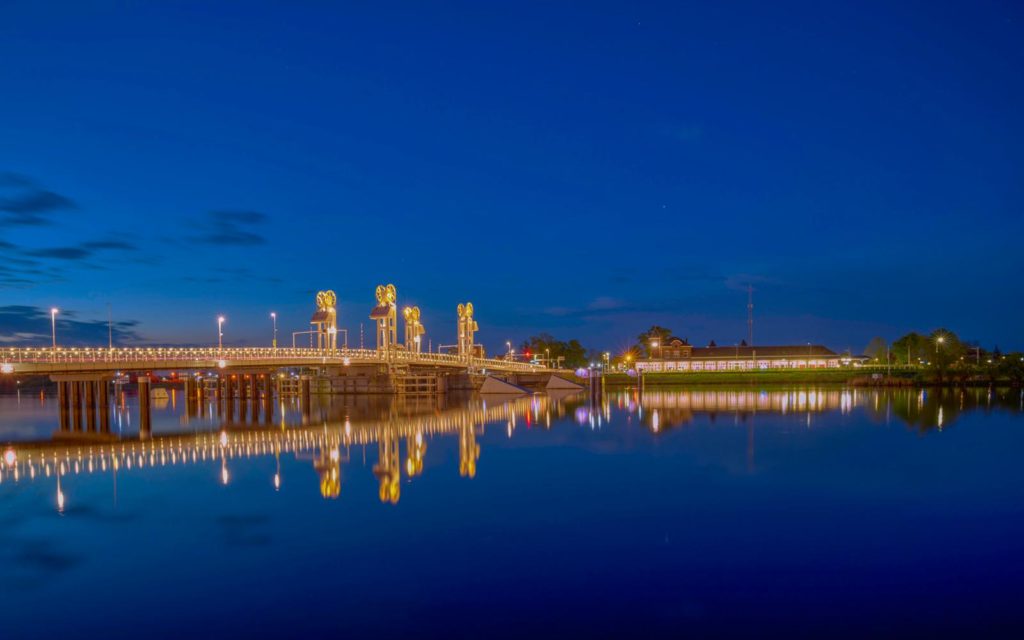
Our plans to capture Kampen at sunrise may have fallen short due to morning mist and cloudy skies, but that didn’t stop us from trying.

Photo by Steven Barger

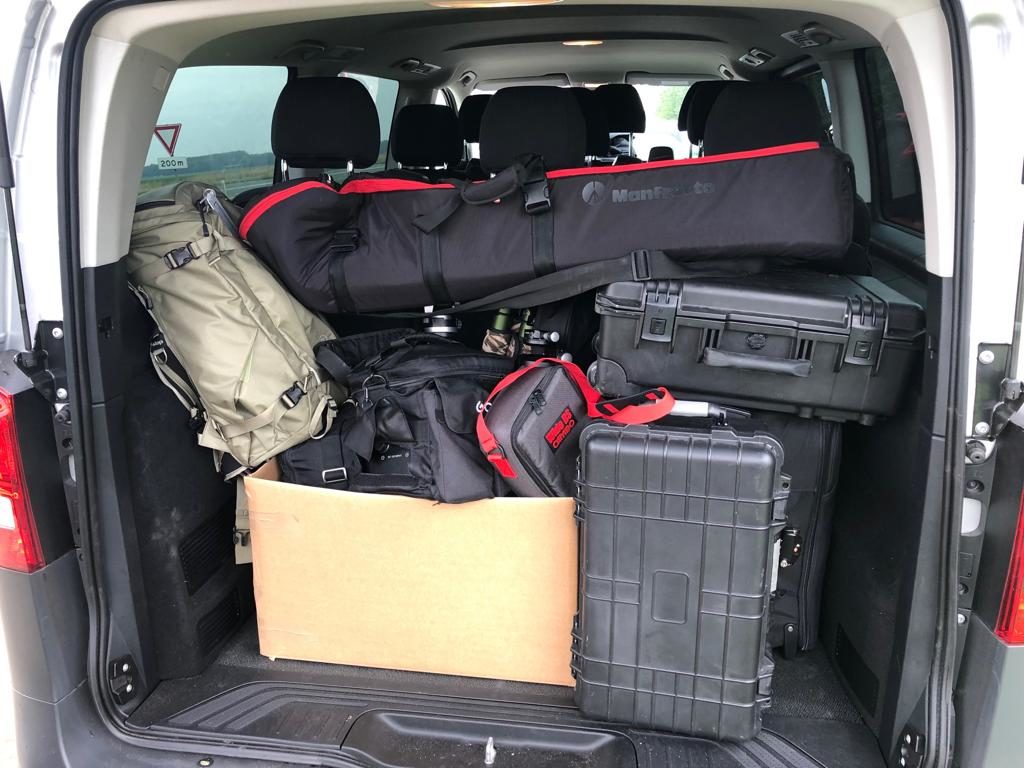
After a nice breakfast, it was off to the races!

All packed and ready to go!

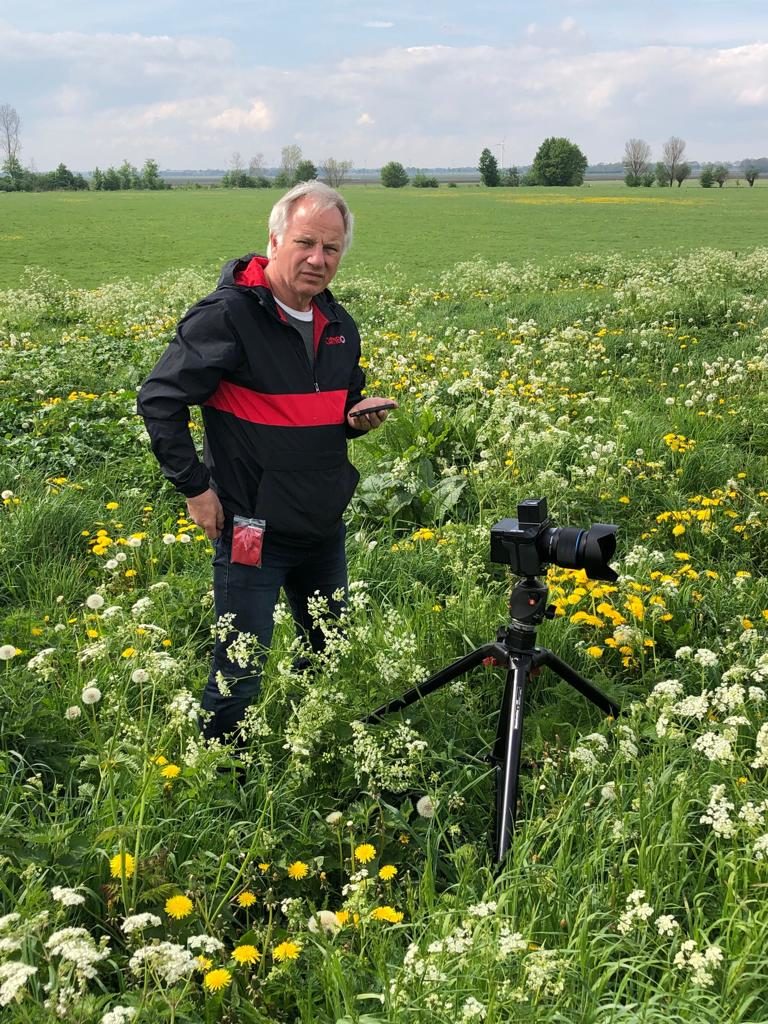
We met with Pim Van Der Maden, a well known Dutch photographer, and Renè from Cambo who would be our local guides for the tour.

Our wonderful tour guide, Pim Van Der Maden
“You see a photo with your eyes, but you feel a photo with your heart”
Pim and Judy discuss the best ways to apply camera movements to her image.
Steven got his hands on the WRS-1600 and a new Rodenstock Aperture Only mounted lens.
Photo by Steven Barger
Renè made sure to have a spare WRS body near by, just in case anyone wanted something else to try.
Photo by Judy Doherty

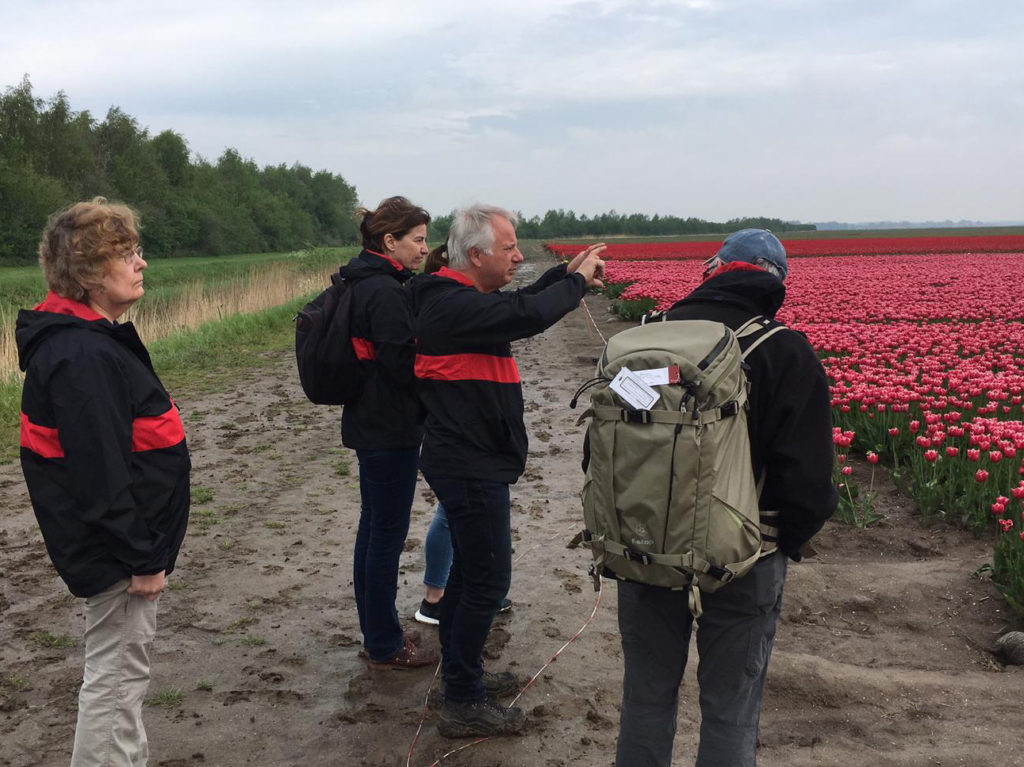
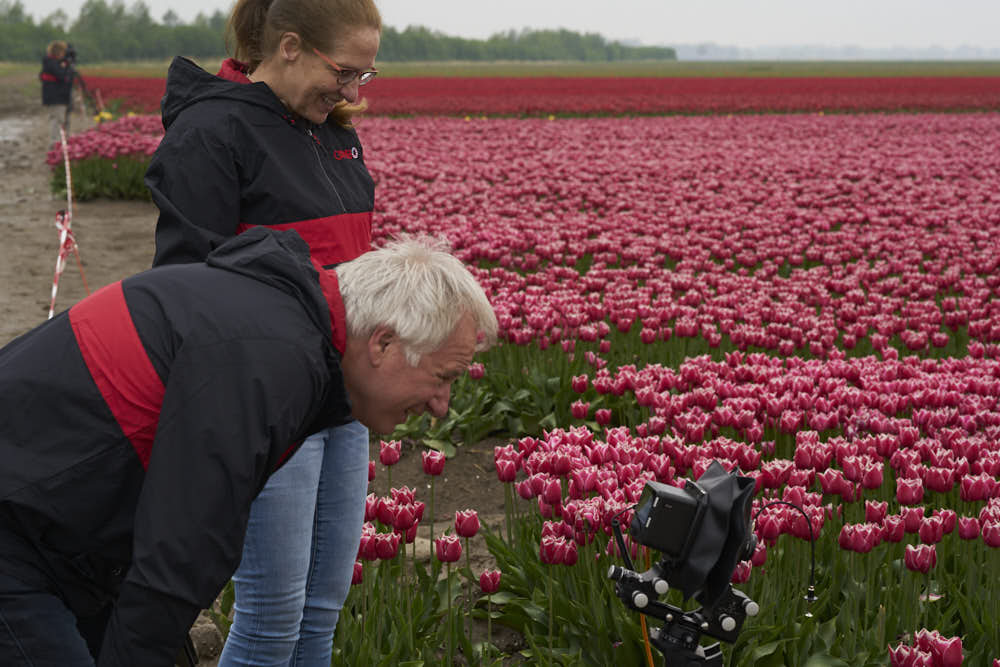
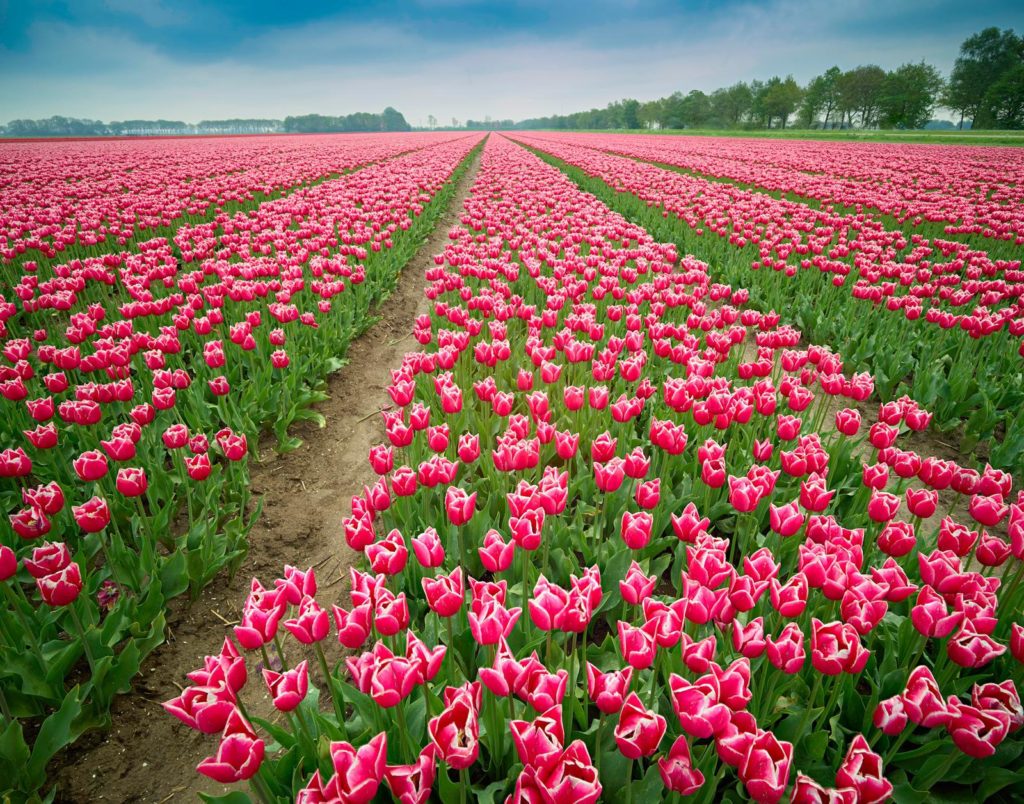
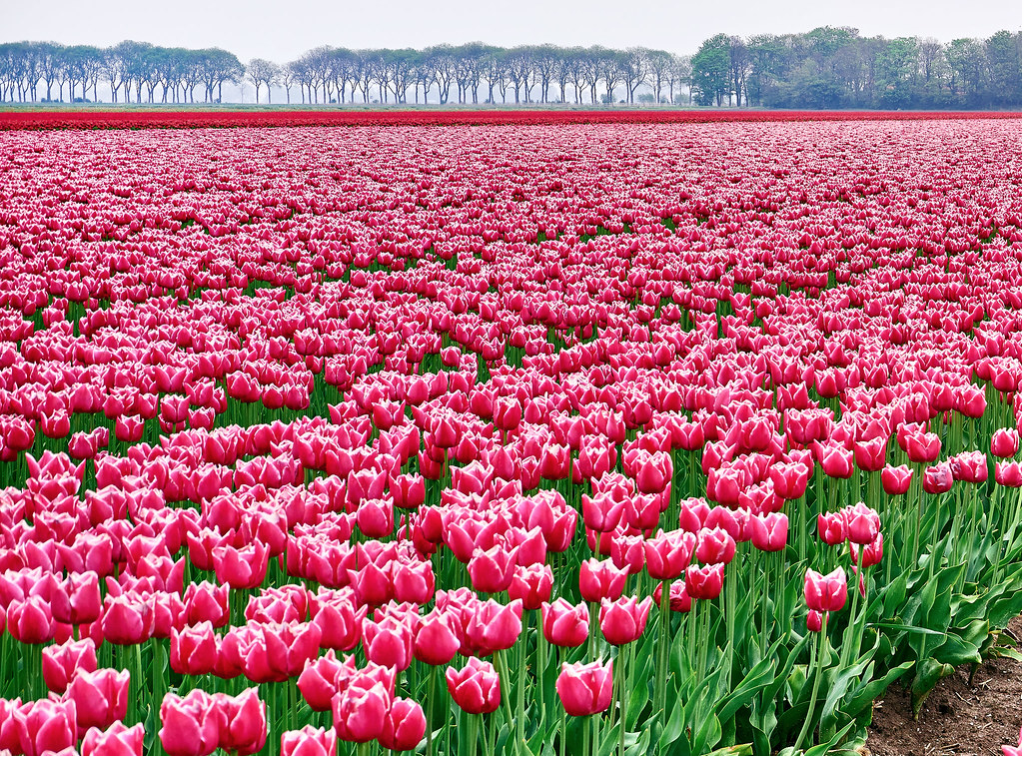
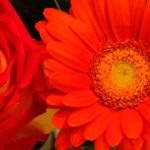
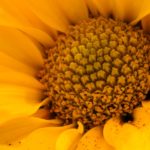
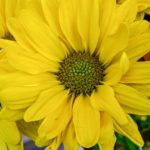
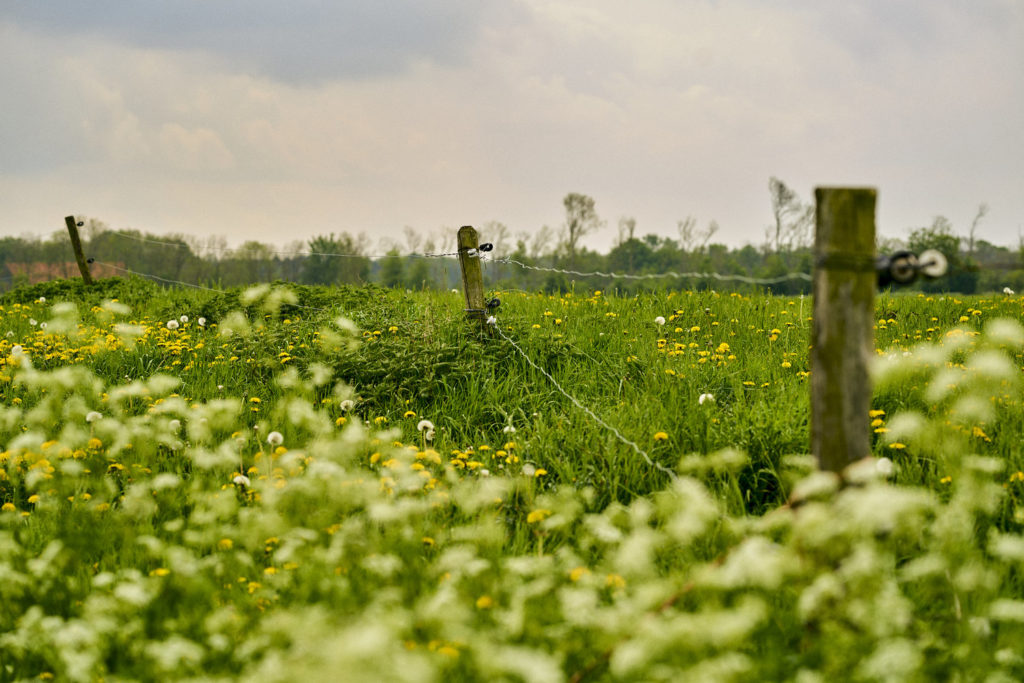
If we had waited another week all of these tulips would have already been harvested. The warm winter earlier in the year caused the bloom to start before we arrived. While we were shooting, the farmers were walking the rest of the fields removing any stray colored flowers that had made their way into the neatly organized rows.

After a full morning of Tulips, we went back to Pim’s studio for a much needed cup of hot coffee.

The clay ground of the tulip fields definitely needed proper footwear. The inside of our tour van looked much worse once we were done with it.
Pim invited us into his studio for refreshments and to see some of his recent projects.

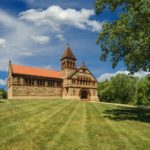
We then moved to the (former) island of Schokland, which back before the reclamation in the 1940s was known to have the North and South ends almost completely separated from each other every day during high tide.

Suzanne quickly learned what the Actus was capable of.
The (Former) island of Schokland made for some beautiful images of the reclaimed land.
Photo by Judy Doherty

Just 77 years ago, most of this area was under water as it exists below sea level.

Photo by Blake Griffin

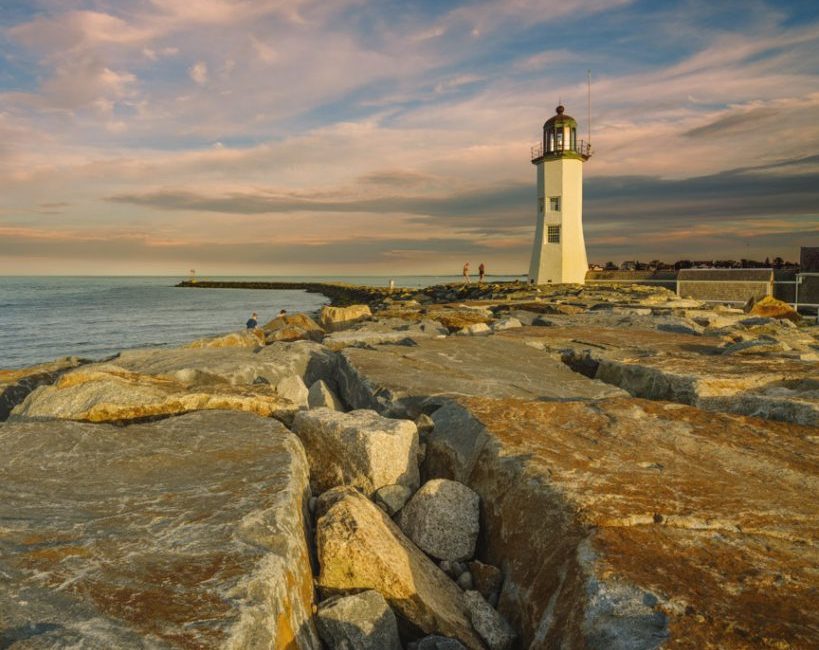
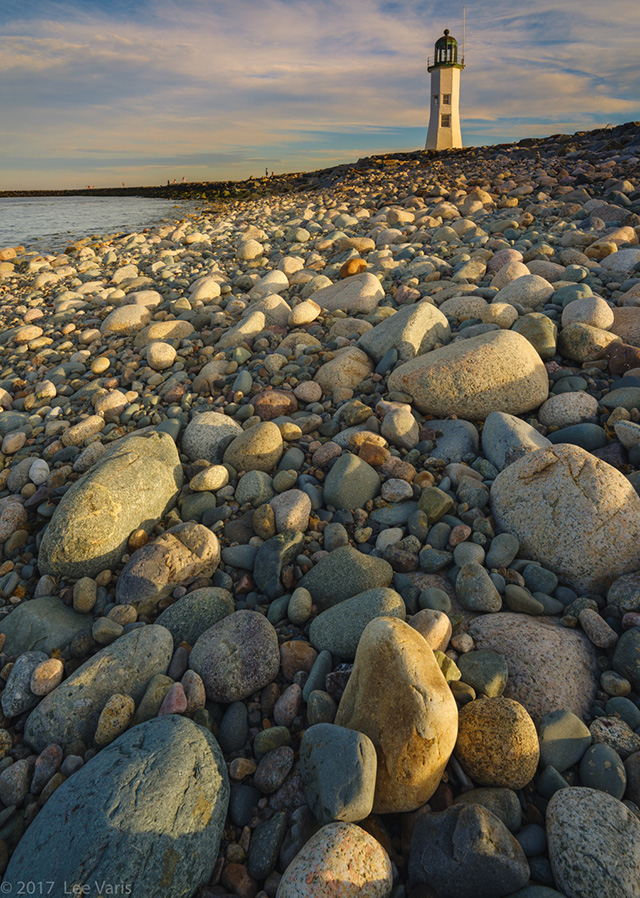
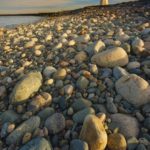
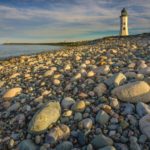
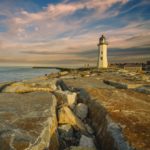
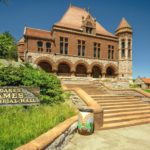
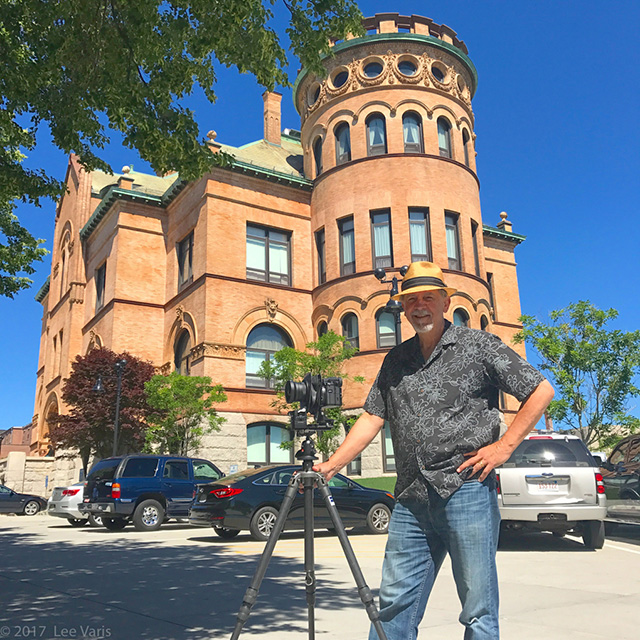
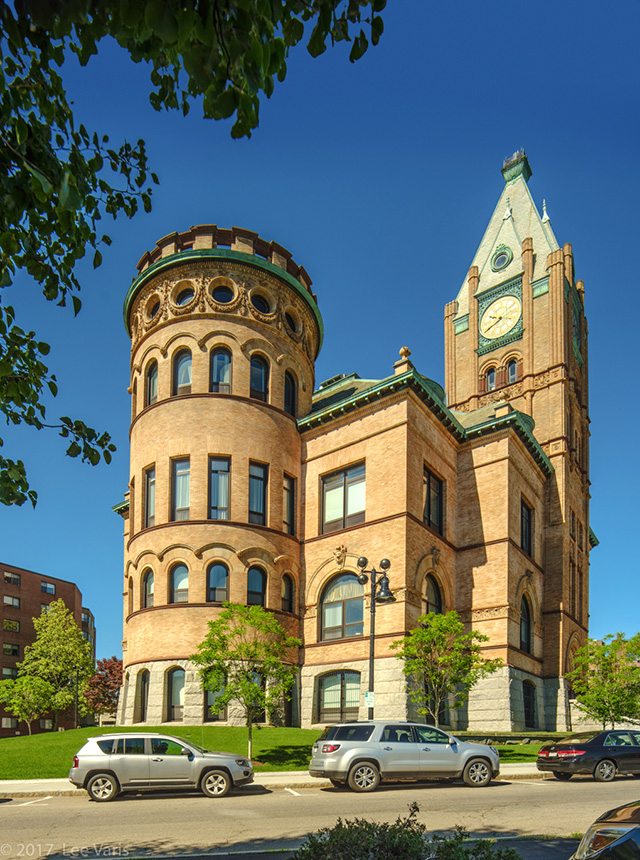
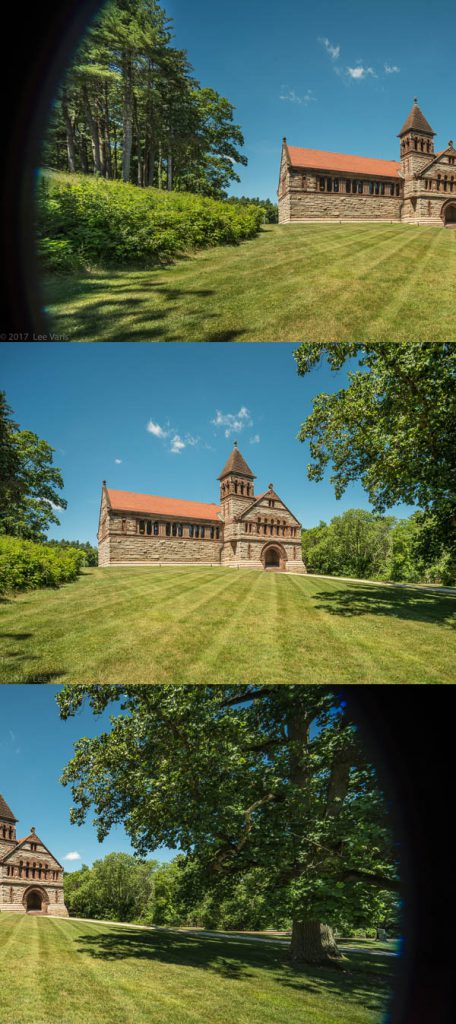
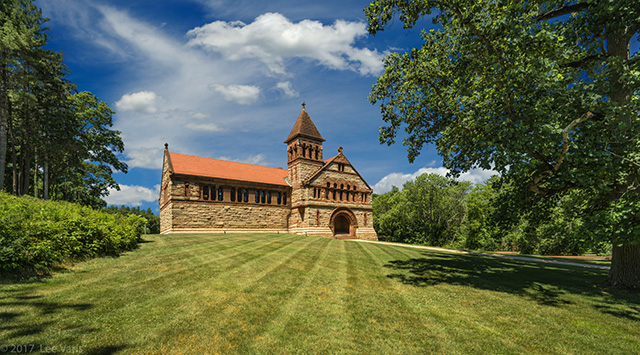
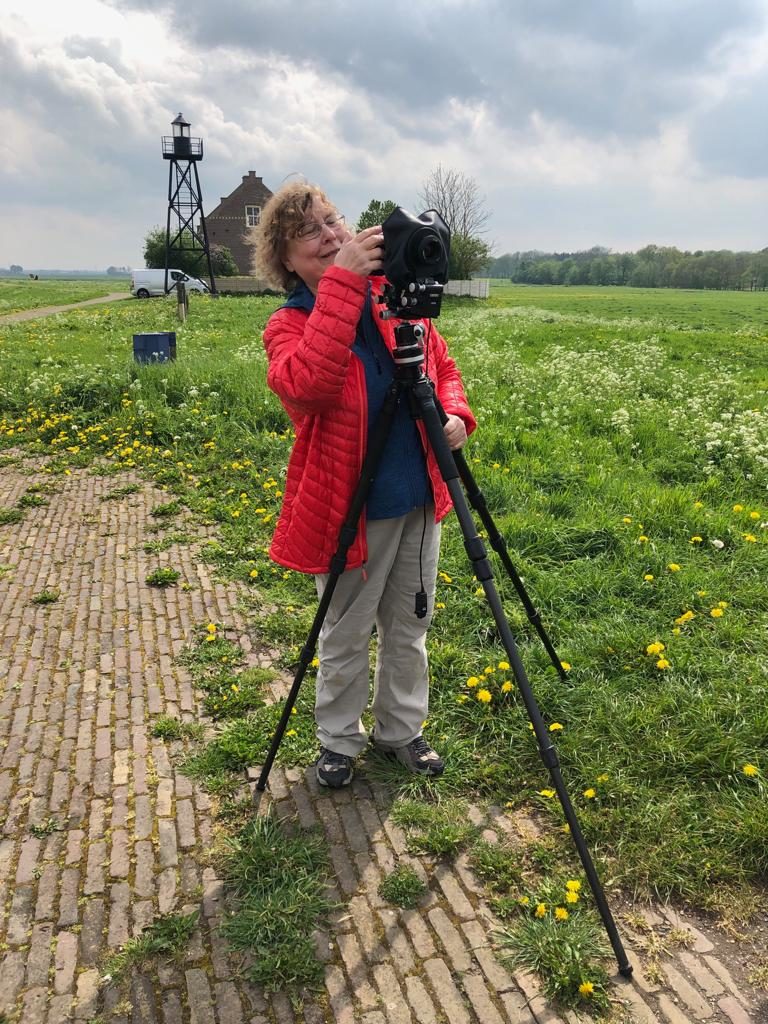
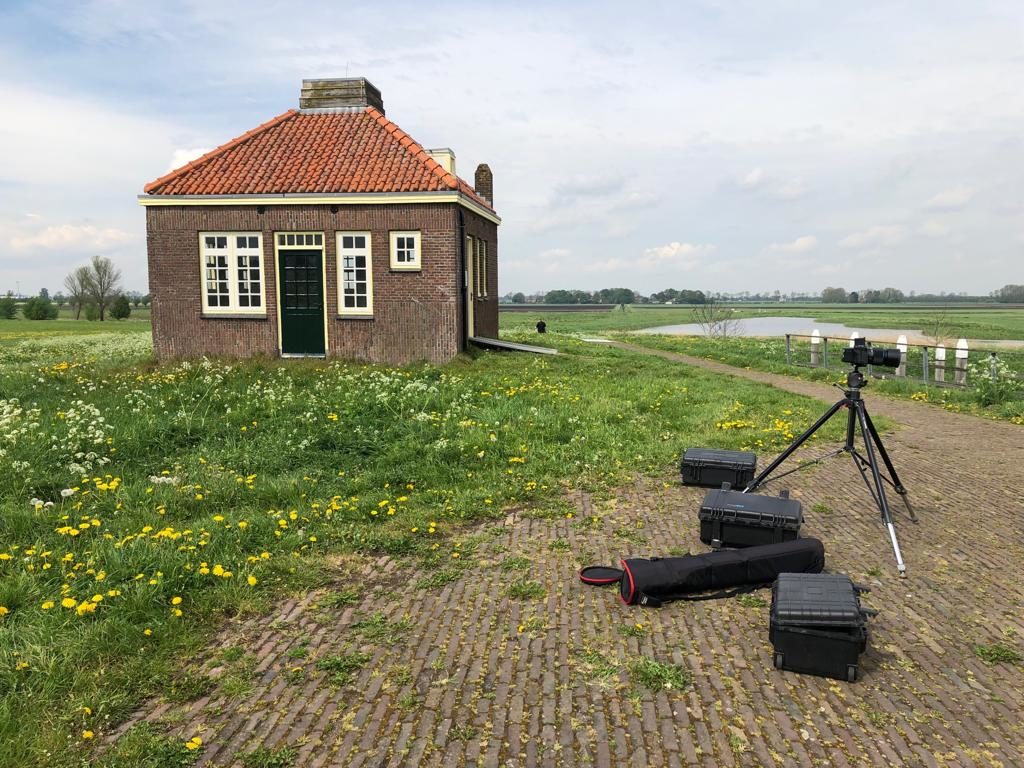
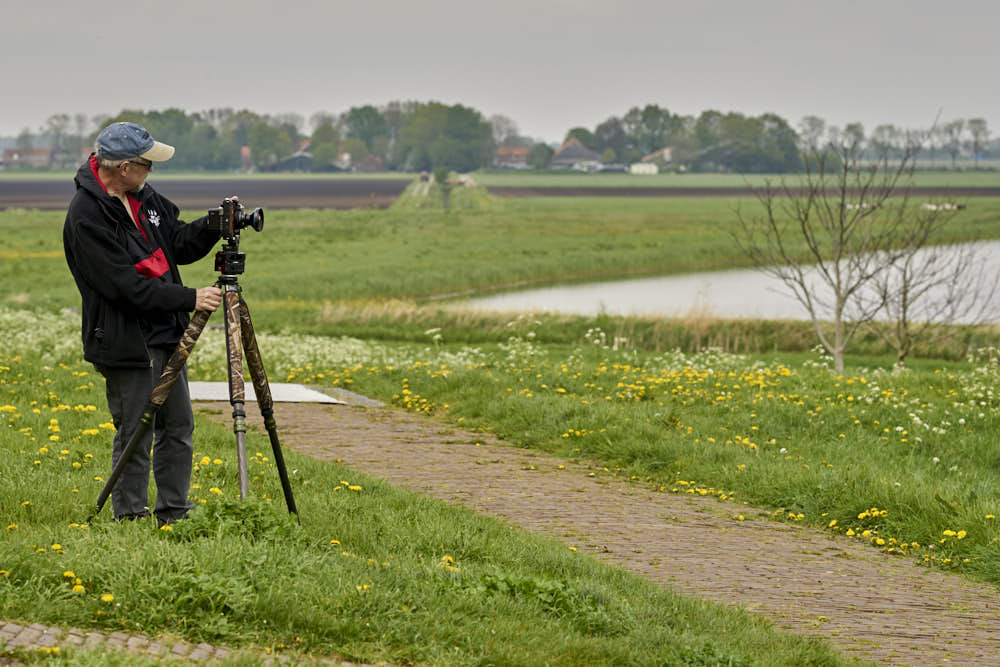
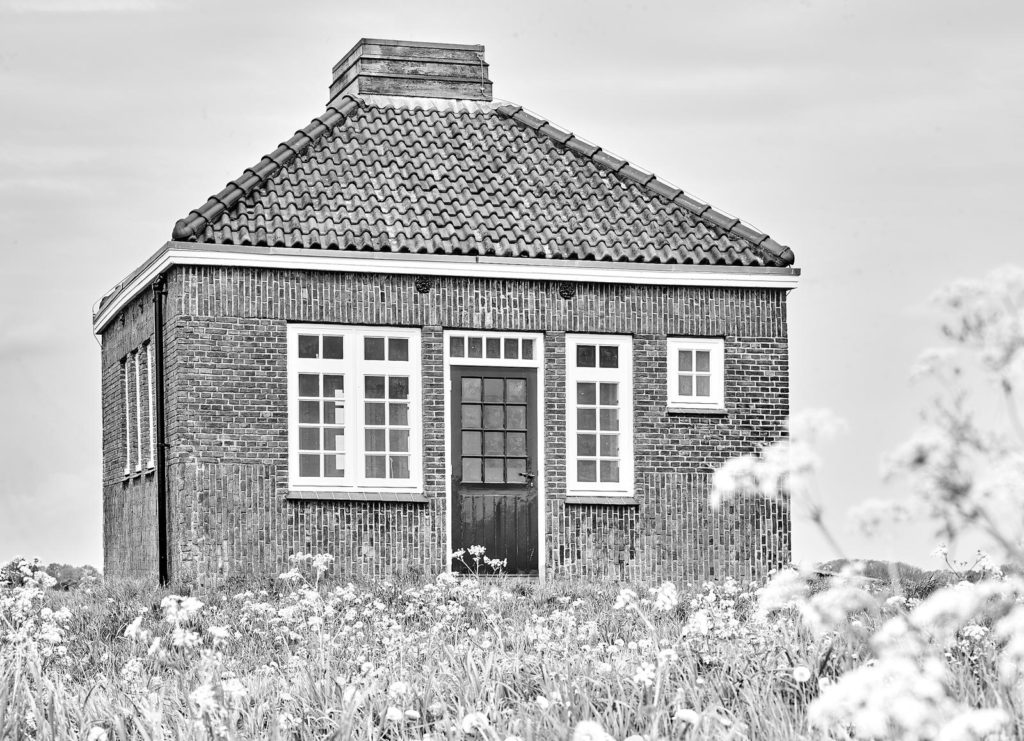
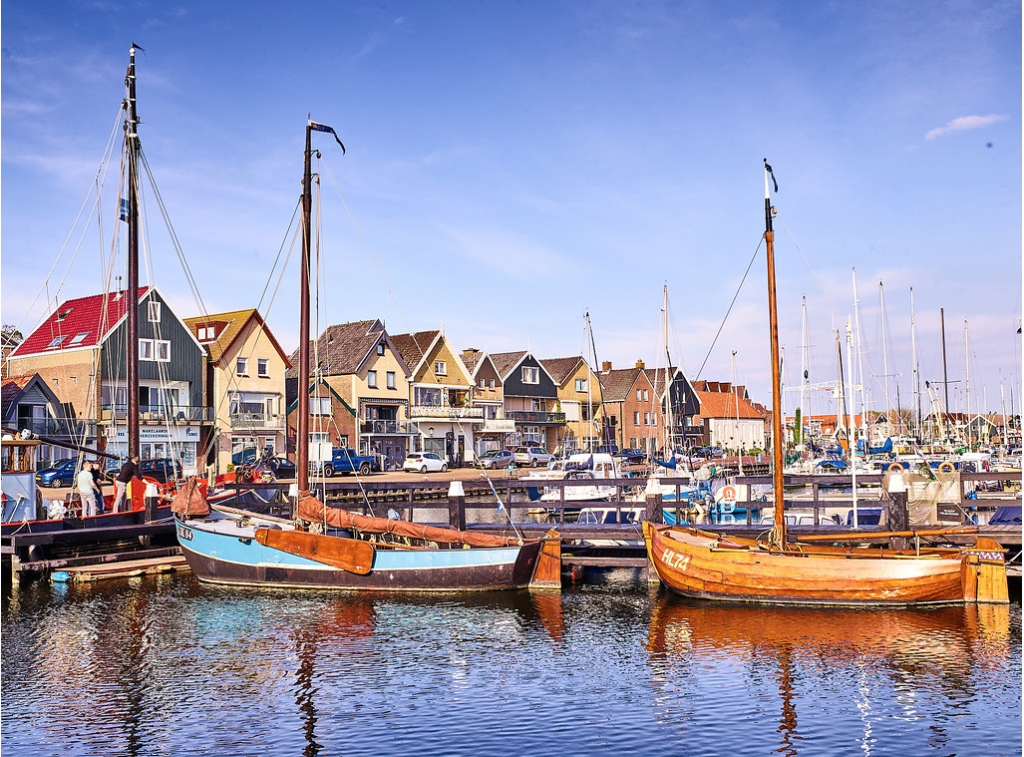
We then moved to the seaside village of Urk for a chance to shoot some perspective corrected architecture of an old light house that no longer shines.

Photo by Steven Barger

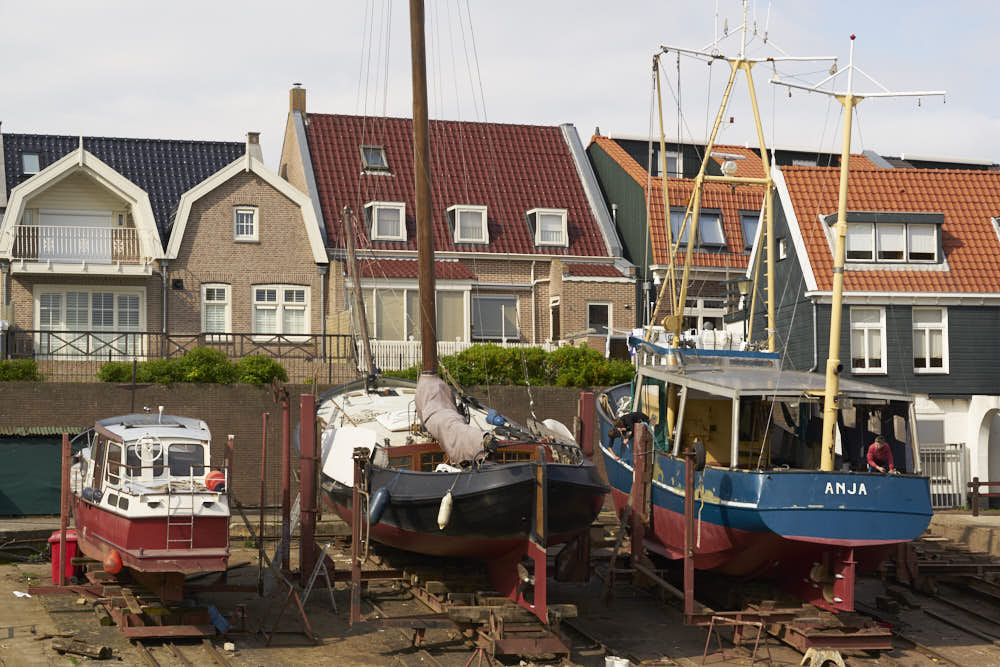
Urk is also the home of a functional port, as any good seaside village should be. The local population still makes a living by fishing and the maintenance of boats.

Photo by Blake Griffin
Photo by Judy Doherty

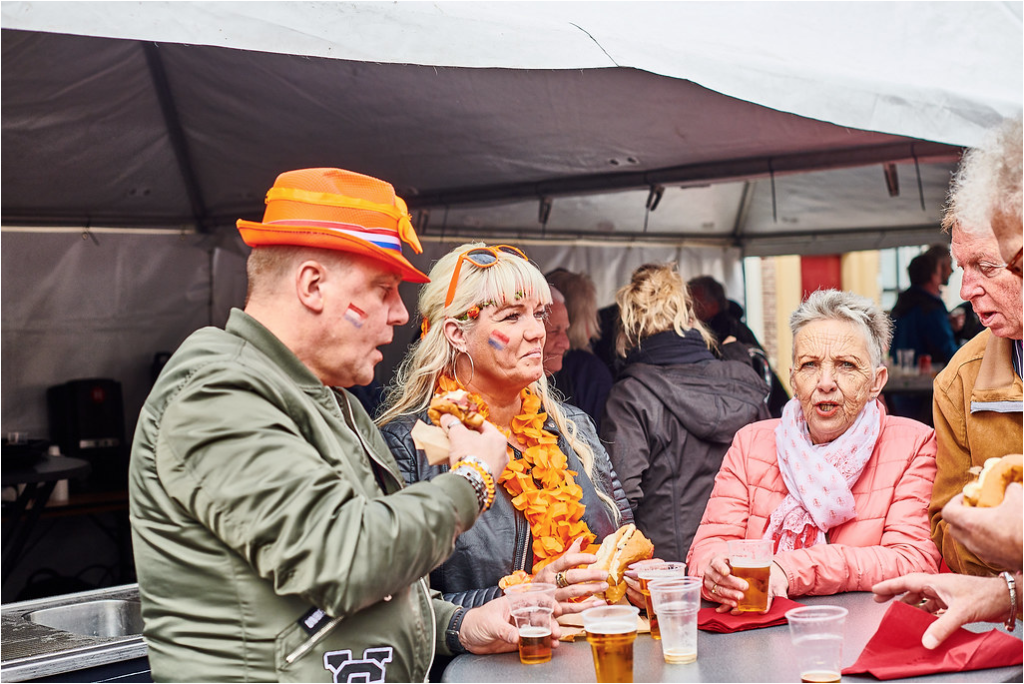
After Urk we returned back to Kampen for dinner, and to our surprise the city streets began to fill. We knew that the next day was going to be a big celebration for The King, but little did we know that the party started the night before!

The Kampen Sturgeon – One of the many floats in the Pre-King’s Day Parade.

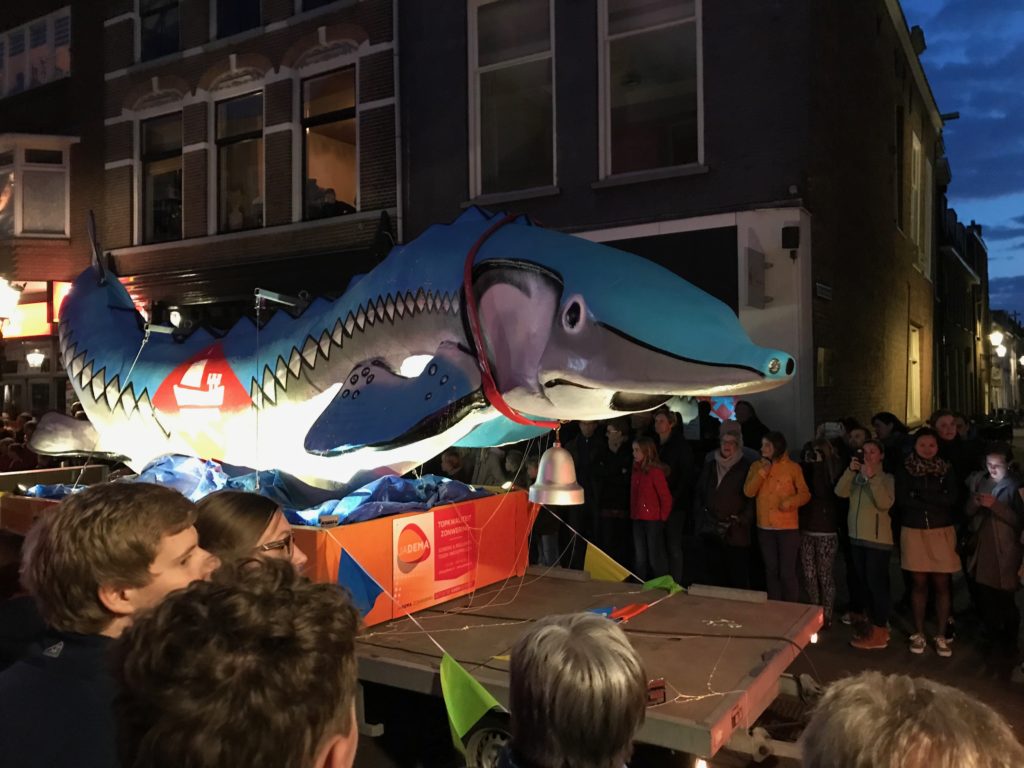
Kings day proper was left open for everyone to explore the local celebrations. Booths lined the street offering games, treats, and a celebration of all things orange!

Photo by Judy Doherty

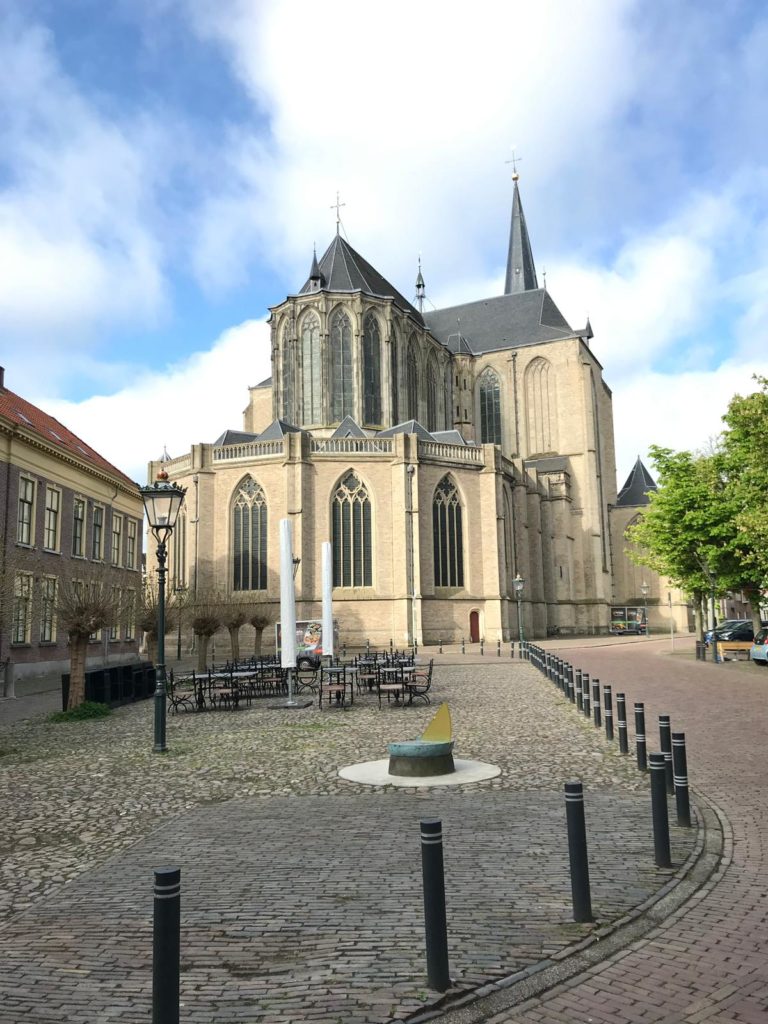
Later that night we were in for one last surprise. We were granted VIP access to a special concert at the medieval cathedral in the heart of Kampen where our host Renè was performing as part of the nationally celebrated Men’s choir.

Photo By Suzanne Barger
The organ in the Kampen cathedral is one of the largest in The Netherlands, and is very impressive to see in person, photos just don’t do it justice.

The next morning it was time to pack up and head back to Amsterdam for our last day together. We all enjoyed the time we had spend with each other, and agreed that the adventure would need to continue again next year!

We couldn’t have asked for better weather before we hit the road back to Amsterdam.

We have already started planning for our 2020 trip, which will be an all new adventure. Please keep checking back for more information as it becomes available. We can’t wait to have you join us!

May 15, 2019by CamboUSA
FacebookTwitterPinterestGoogle +Stumbleupon
Actar, Cambo Actus, Cambo DSLR, Guest Post, Review

Lee Varis: Testing the Ultimate Technical Camera – Part 2

Words and Photos by Lee Varis of Varis Photomedia

This 2nd part of my examination of the Cambo Actus GFX system focuses (literally) on the lens tilting functionality. The tilting lens stage allows the photographer to alter the plane of focus, usually to match the plane of focus with the subject, to achieve better depth of focus with near-to-far subjects, or with macro focus situations.

The Cambo Actus technical camera system allows the front lens stage to tilt, altering the plane of focus to match the subject.

This lens tilt takes advantage of the Scheimpflug principle, a geometric rule that describes the orientation of the plane of focus of an optical system (such as a camera) when the lens plane is not parallel to the image plane.

Tilting the lens such that the desired plane of focus intersects the plane of the lens, and the image plane at one point, known as the Scheimflug intersection, is the core function of the Scheimpflug principle.

Arranging the lens tilt so that the desired plane of focus intersects with the image plane, and the lens plane, at the same point, allows for enhanced focus along that focus plane without resorting to extra small ƒ-stops, and in most cases achieves sharper focus in the desired area. The following image illustrates how this works in practice. The first image has the lens plane parallel to the camera back, and the result is a limited depth of field that is particularly troublesome for near-to-far subjects…

Here the back of the camera and the lens plane are parallel in a normal orientation—the focus is on the guitar pick which is very close to the lens—the focus falls off into the distance.

The second image has the lens tilted forward so that the lens plane intersects the plane of the face of the guitar, and the back of the camera—the result is an illusion of infinite focus or extended depth of field, even at a wide open ƒ-stop…

Here the lens has been tilted forward enough that the plane of focus matches the face of the guitar, and we have perfect focus along the whole length of the guitar, near-to-far.

The beauty of the medium format, mirrorless FUJIFILM GFX is that focus peaking in the electronic viewfinder makes the chore of determining the best angle for the lens easy—just tilt the lens until the red highlights show up along the edges in the image!

Besides the obvious application here in the still life above, subtle lens tilts can work wonders in ultra-close-up macro photography. This is something the Cambo Actus system excels at…

The Cambo Actus GFX with the 90mm Actar lens is ideal for extreme macro work. Small lens tilts can greatly enhance the apparent depth of focus at closer than 1:1 magnification distances.

Here the lens has been tilted to place the focus across the plane of the flower center. Closing down the ƒ-stop just a bit extends the depth enough that all of the petals are also tack sharp!

There is nothing quite so luxurious as a view camera for macro photography, and the Cambo Actus GFX is a joy to use with extremely precise geared focus movements along the extended rail—the focus peaking of the FUJIFILM GFX is fantastic for nailing the focus.

The Scheimpflug principle also has application in landscape photography…

Here I’m setting up a shot with foreground rocks leading up to the lighthouse—an extreme near-to-far composition.

The foreground rocks are only 24 inches from the front of the lens with the light house over one hundred feet away.

There is no way to achieve this level of depth of focus in a single capture without the use of a tilting lens stage.

While it is possible to capture several shots with differing focus depths, and merge them using focus stacking, the look of the Scheimpflug capture achieves a subtle “standing in the scene” kind of feel that just works better for this type of image!

Here is a short video showing another shot from the same day of shooting…


The Cambo Actus with the FUJIFILM GFX is truly the ultimate technical camera for demanding photography in architecture, still life, and landscape applications. While the system is not cheap… roughly $2,795.00 for the Cambo Actus, another $1000 – 1700 or so for a large coverage view camera prime lens, and you’d still need to purchase the FUJIFILM GFX body ($6499.95 from B&H) , if you are looking for the ultimate technical system, this is it!

I was able to borrow the system for a only a week, and had limited time to work with it, but I really enjoyed working with the system. This camera inspired many ideas for photographs that I would like to pursue at some point in the near future. In the meantime, here is a gallery of images from my testing—click on the thumbnails below to see larger images! You can find out more about the Cambo Actus system of cameras, available with adapters for Canon, Nikon, Sony, and Fuji-X, from their website here: https://www.cambo.com/en/actus-mini/cambo-actus-mini-view-camera/


Words and Photos by Lee Varis – Source: Cambo Actus + FUJIFILM GFX

Once again a huge thank you to Lee for his very in depth review. To purchase a Cambo Actus GFX or any of the many other Cambo products, please visit Cambousa.com/dealers to find the Cambo dealer nearest you.!


July 10, 2017by CamboUSA
FacebookTwitterPinterestGoogle +Stumbleupon
Actar, Cambo Actus, Cambo DSLR, Guest Post, Review

Lee Varis: Testing the Ultimate Technical Camera – Part 1

Words and Photos by Lee Varis of Varis Photomedia

I recently had the opportunity to test the Cambo Actus technical camera with the FUJIFILM GFX—this was very exciting for me because I could renew my experience with view cameras in a new digital configuration! The Cambo Actus is essentially a view camera front end to just about any digital camera that gives the serious photographer the ability to use full lens tilt & shift with back shift.

The Cambo Actus consists of a front lens board with tilt/shift on a rail system with a bag bellows that connects the front lens to the back board using a clever magnetic attachment.

The Cambo Actus system uses large image circle view camera or enlarger lenses connected to a digital camera body through a bag bellows and a body adapter back standard. Basically replacing a view camera film holder with a digital camera body. I had the system set up for the amazing FUJIFILM GFX, a medium format 50 megapixel camera, and had an Actor 24mm & 90mm lens to test the full tilt/shift capabilities of the system.

The shifting function of this type of camera system is primarily used in architectural photography to control perspective convergence. This was how we had to work before the days of Photoshop and Lightroom lens corrections. The idea is to keep the camera back perfectly vertical and use the shifting back to get the top of a building in the shot. A carpenter’s bubble level is very useful to square up the camera…

Here is a short video where I show the process with the Cambo Actus and FUJIFILM GFX…

I was using the Actar 24mm with is fairly wide angle for the GFX medium format camera.

Here you can see the perspective convergence in the building behind me. It was actually much more severe in the un shifted GFX shot—it makes the building look like its leaning backward!

Sometimes when the image is perfectly corrected with all the lines parallel, it can look a little off, like its over corrected. You might have to deliberately under-correct (allow for slight convergence)  to make it look right…

The shape of this building still looks a little strange, even though it is technically correct.

The shifting back of the Cambo Actus is also extremely helpful when stitching multiple shots together to get undistorted wide angle shots! I took advantage of the horizontal shift to capture a shot of the Ames Free Library in Easton Massachusetts when the best vantage point for the building was too close to show enough of the scene.

Instead of panning the camera, I shifted the back left to right to get 3 shots of the scene.

Shifting the back of the Cambo Actus allows for perfect alignment with the building, so all the lines are parallel, and multiple shots blend together seamlessly with no effort. The image below shows the individual shots shifted to the extremes of the extra large image circle…

This sequence shows the extreme shift inside the image circle of the lens!

The result after merging in Lightroom/Photoshop…

I added a better sky into the merged scene in Photoshop, but the panorama merge was done in Lightroom.

The Cambo Actus system is definitely the big boy way to shoot architecture, but the camera has many other applications that take advantage of a tilting lens! Stay tuned for part two of my exploration of the Cambo Actus GFX where I look at achieving infinite depth of field effects with a tilting lens!

Words and Photos by Lee Varis – Source: Cambo Actus & FUJIFILM GFX

Please take the time to visit Lee’s website varis.com for more great reviews, tutorials, and stellar images.

Thank you Lee for taking the time to test and share the Actus GFX. For more information or to purchase one of your own please visit Cambousa.com/dealers to find the dealer nearest you.

Stay tuned for Part 2 of Lee’s review coming soon!

July 7, 2017by CamboUSA
FacebookTwitterPinterestGoogle +Stumbleupon
Cambo Actus

Stitching images with Actar Lenses and the Cambo Actus-Mini

Our partners over at the Cambo official blog just shared a few tests of the Actar 24 and Actar 60 lenses when used for image stitching. I know a lot of you have been wondering about the possibilities of what can be created using these two brand new lens options, and I couldn’t just let this pass by un-noticed! 

Cambo has built a reputation for designing and manufacturing technical cameras and more recently the Actus system has been proven a favorite choice for many landscape and architectural photographer.

During the recent On Landscape Conference “A Meeting of Minds” the Actus was on show along with the Actar 24mm and 60mm lenses.

The weather was horrendous and once the storms disappeared we ventured out to test the current Actar lens offerings.

charles1


The Actar 24mm is specifically designed for use with the Actus. It comes complete with a lens plate that locks direct into the front standard.

Although photographers are adopting mirrorless camera systems a majority of users still have DSLR systems from Canon and Nikon and require a wide-angle lens that will focus at the extra distance required to compensate for the mirror box. This is the reason why there is a large rear element on this lens.

screen-shot-2016-11-30-at-2-47-52-pm

When using a mirrorless camera the focus is racked back a little more away from the lens than a DSLR with mirror box. The lens is inserted into the front standard and locked in place by a lever. Before you shoot any images it is important to find the lens infinity point. Your dealer can show you how to do this, although we will cover this in another blog.

For this test we used the following; Cambo Actus Mini View Camera, Sony A7R, Actar 24mm lens, Standard bellows, CBH-6 ball and socket head and Manfrotto 055 CF tripod.

Using the Sony to meter the exposure at ISO50 was 1/8 sec at F16. The RAW file was captured with generic Sony profile and 2-second self-timer to avoid camera shake.

actar24mmmid1

The lens image circle is quite large, 60mm, so the Actus can be shifted horizontally 12mm left and 12mm right. For this shot we shifted 10mm left and 10mm right.

Once the RAW files were captured we imported the files into Capture One Sony Express and processed them using the Sony Generic profile and saved as a TIFF file to preserve the data.

Capture One pre-set sharpening was used, as shown below, but there was no need to increase this. The handrail and window detail is sharp.

actar24mmrail

actar24mmwin

The auto merge in Photoshop CC2015 is extremely good. We had a slight edge to the left and bottom of the file when merging, probably due to the positioning of my tripod on the cobbled paving!

Select Content Aware when using auto merge and this will calculate the edge fill. Photoshop does a great job of this and as you can see from the image you can’t tell this adjustment has been made. The ant trail is shown on the image, select the Content aware tool and click on the ant trail to complete the fill.

contentawareblog

The Photoshop layered file to be stitched is 938.6MB layered file, 322MB (flattened.) The TIFF file is 1.59GB. The pixel dimension of the capture is 11456 x 4912 at 300dpi / Print output 38.18” x 16.37” 300dpi.

The images we use for the blog are 1080 wide at 72dpi, reduced to manage on the blog. The cropped imaged was taken from the middle of the panorama at 100% zoom. The file is 15.7MB, 2528 x 1087 at 300 dpi with a print output of 8.42” x 3.6” at 300dpi.

actar24mm_panorama21

The day started and ended with mist. The image was captured around 2:30 pm and there was still a small amount of mist across the distant Elizabethan building.

actar24mm_pancrop2

Following on from our shoot with the Actar 24mm, we were in a good location to capture images with the recently launched Actar 60mm f4 lens.

Within half an hour of shooting with the 24mm the light turned golden and although it looked warmer, trust me it was much colder!

charles2

The Actar 60mm is supplied fitted with a lens plate that slots directly in the front standard of the Cambo Actus camera platform. It is compatible with Mirrorless cameras. The large image circle of 75mm enables you to shift the camera body 19mm left and 19mm right, a huge 38mm shift producing an effective 66mm x 54mm stitched sensor capture – as its a longer lens there is not the distortion effect you obtain from a wide angle lens.

actar60lens

Again you need to find the infinity of the lens but this is easier to achieve, as it’s a longer lens. For this test we used the following; Cambo Actus Mini View Camera, Sony A7R, Actar 60mm lens, Standard bellows, CBH-6 ball and socket head and Manfrotto 055 CF tripod.

Using the Sony to meter the exposure at ISO50 was 1.0 sec at F16. The RAW file was captured with the generic Sony profile and a 2 second self-timer was used to avoid camera shake.

actar60mmmain

As already mentioned the lens image circle is quite large, 75mm, so can be shifted horizontally 19mm left and 19mm right. For this test we shifted 10mm left and 10mm right.

Once the RAW files were captured we imported the files into Capture One Sony Express and processed them using the Sony Generic profile, 16Bit and saved as a TIFF file to preserve the data. Capture One pre-set sharpening was used, as shown below; there was no need to increase this.

actar60mm3up

The only real change was the warmer natural light, so we enhanced the contrast to keep as much detail in the image. I prefer the warm light, its much more pleasing to the eye.

The Photoshop layered file to be stitched is 929.8MB layered file, 322MB (flattened.) The TIFF file is 1.24GB. The pixel dimension of the capture is 11456 x 4912 at 300dpi / Print output 38.18” x 16.37” 300dpi.

actar60mmpanorama

The Photoshop CC2015 auto merge, content aware and edge fill process was the same as when we processed the Actar 24mm files.

The images we use for the blog are 1080 wide at 72dpi, reduced to manage on the blog. The cropped imaged was taken from the middle of the panorama at 100% (approx.) zoom. The file is 8.8MB, 1893 x 812 at 300 dpi with a print output of 6.31” x 2.7” at 300dpi. I have been too generous with the crop produced by the Actar 24mm, as the size of these files should be the same.

actar60mmpancrop

The Actar 60mm is a better lens for this type of work. Of course longer lenses will suffer less with distortion and lens aberrations, we are also cropping into the image area, which is far more effective when shooting a panoramic image.


For further information about Cambo products contact your nearest dealer– Dealer Search.


November 30, 2016by CamboUSA
FacebookTwitterPinterestGoogle +Stumbleupon

Recent Posts

  • Marcel Boldu: Cambo View Camera Comparison
  • Introducing the RPM Focusing Mount for Hasselblad XCD
  • Cambo MST Studio Stand with Geared Column
  • Once in a Lifetime
  • Proper Protection

Categories

“Cambo BV was founded in The Netherlands in 1946 and has the distinction of being the first studio camera manufacturer to produce an all-metal large format camera. Based in the town of Kampen in the East of the Netherlands, Cambo has since built a reputation for high quality, precision engineered cameras, stands and other studio equipment.”

© 2019 copyright Cambo USA // All rights reserved