FIX – add in proper CI contact tag at end of post
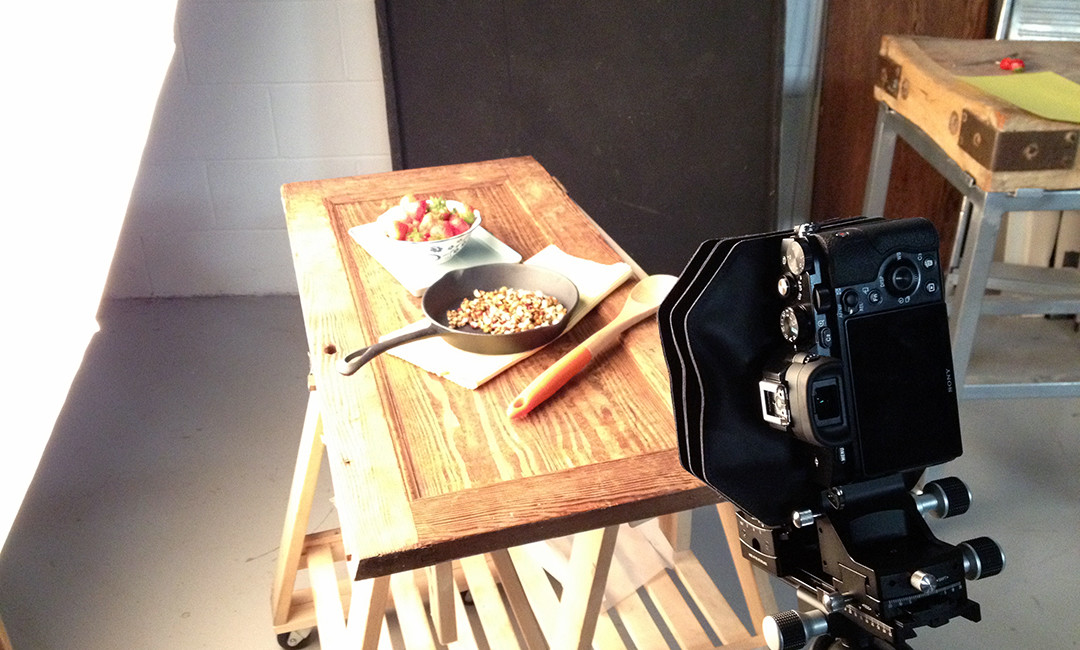
As promised we are now posting images captured on our trips to customers. The following shows you a simple setup with the control to focus the front and rear or use the selective focus to to pull your eye to the subject in the image.
The images are screen captures to show the effect of the movement and not the resolution of the camera being used – you can call your local dealer and they will gladly show you the ACTUS with a DSLR or Mirror less system. You can then judge for yourself and experience the quality of the results produced with the ACTUS mini view camera.

Here’s a close-up of the front of the tabletop.

All digital camera systems need a little sharpening so I applied 100% to lift the image with Radius 2.0 and Threshold 3 levels. The settings worked well with these images. As you can see the detail is very fine and the colour (orange) of the original image file is smoother than shown here, as the screen captures are png files.

The back of the image was also in focus and again the same settings used to ‘tweak’ the sharpness. The following image shows the same file at 50%…

and at 100%…

The next test for our client was to show how easy it is to use selective focus with the ACTUS. Here the swing and tilt was used to select the focus area across the pan and at the same time drop the front and back products out of focus.

I used the same settings again for Unsharp Mask…

At 100% the image holds up really well and the client was delighted with the results.

Tabletop Setup and Equipment List:
The lighting was very simple, we used a single diffused Elinchrom flash head with a small board over the top right to drop a small amount of light back in.
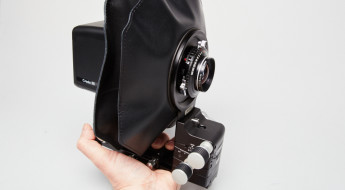
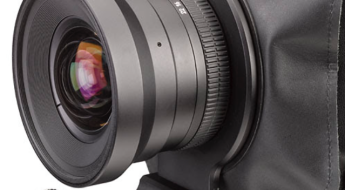
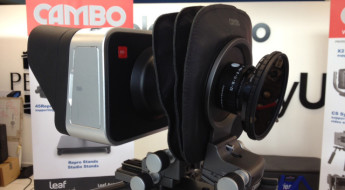
Cambo ACTUS c/w Sony E-Mount, Standard Bellows, #0 Lensplate, Schneider 80mm f4 Apo-Digitar lens, CBH-6 Ball Head and Sony A7R Mirror less camera.


Leave a Comment